Nikon iNEXIV VMA-4540
Request a Quote or DemoThe VMA-4540 CNC video measuring system provides a large XYZ stroke and a wide field of view. The touch-probe-ready model VMA-4540 is ideal for a wide variety of industrial measuring applications.
The VMA-4540 is designed for high-accuracy measurement of a variety of workpieces. A wide field of view enables easy confirmation of measurement areas and provides unparalleled operation. Its broader XYZ measurement range, with a longer working distance than ever before, provides ultimate versatility for measurement of both large and tall mechanical parts and uneven surfaces.
Wide FOV (Field of View)
A wide FOV of up to 13 mm x 10 mm (at 0.35x) allows easy search and alignment of measuring targets. The 10x zoom with five specific steps provides accurate measurement as well as high-resolution images. An excellent Apochromat objective lens with high NA (0.11) and low distortion has been specially designed for the iNEXIV series, providing crisp, clear images.
Large Measuring Range of 450 mm (X) x 400 mm (Y) x 200 mm (Z)
The large 450 mm x 400 mm XY stroke supports measurements of large samples and mass inspections of multiple parts all at once. An extended 200 mm Z-axis stroke is perfect for tall workpieces.
Touch Probe (option)
The VMA-4540 is touch-probe ready and accommodates optional Renishaw® TP20 or TP200 touch probes. Touch probes provide measurements of 3D shapes parts where vision AF cannot be used, such as the inner diameter of an oil seal or the clearance angle of an indexable insert. The touch probe offsets from the optical axis, but works coaxially in the same XYZ coordinate system as the optical axis using iNEXIV VMA TP AutoMeasure software.
| Stroke (X x Y x Z) | 450 x 400 x 200mm (18"x 16"x 8”) |
| Measurement range with TP (Touch Probe) | 400 x 400 x 166mm (TP20) 400 x 400 x 170mm (TP200) 450 x 400 x 200mm (with Vision AF) |
| Measurement Range with TP & MCR20*1 | 325 x 400 x 166mm (TP20) 325 x 400 x 170mm (TP200) 375 x 400 x 200mm (with Vision AF) |
| Minimum Readout | 0.1μm |
| Maximum Workpiece Weight | 40 kg (up to 20 kg accuracy guaranteed) |
| Maximum Permissible Error*2 | EUX,MPE EUY,MPE: 2+6L/1000μm (with Vision AF) EUXY,MPE: 3+6L/1000μm (with Vision AF) EUZ,MPE: 3+L/100μm (with Laser AF or Touch Probing) (L = Length in mm) |
| Camera | 1/3-in. 3CCD color or B/W Progressive scan |
| Working Distance | 73.5 mm (63 mm with Laser AF) |
| Magnification | Optical: 0.35 to 3.5x On screen: 12.6 to 126x with 24-inch WUXGA (1920 x 1200 pixels) monitor |
| FOV Size | 13.3 x 10mm to 1.33 x 1mm |
| Auto Focus | Vision AF and optional Laser AF |
| Illumination | Contour illumination: White LED diascopic illumination Surface illumination: White LED episcopic illumination Oblique illumination: 8-segment white LED ring illumination |
| Video Resolution | 640 x 480 (pixels) |
| Touch Probe (optional)*1 | Renishaw® TP200/TP20 |
| Power Source | 100V-240 V, 50/60 Hz |
| Power Consumption | 5A-2.5A (excluding power consumption of host computer and its peripherals) |
| Dimensions & Weight (W x D x H) | Main body with table: 1000 x 1340 x 1553mm, 500 kg Controller: 145 x 400 x 390mm, 13 kg |
| Operational Environment | Temperature: 10°C to 35°C Humidity: 70% or less |
| CPU | Intel® Core™2 Duo CPU or faster |
| Memory | 4GB or more |
| Operating System | Windows® 7 32bit |
| Interface | USB2.0/IEEE1394 |
-

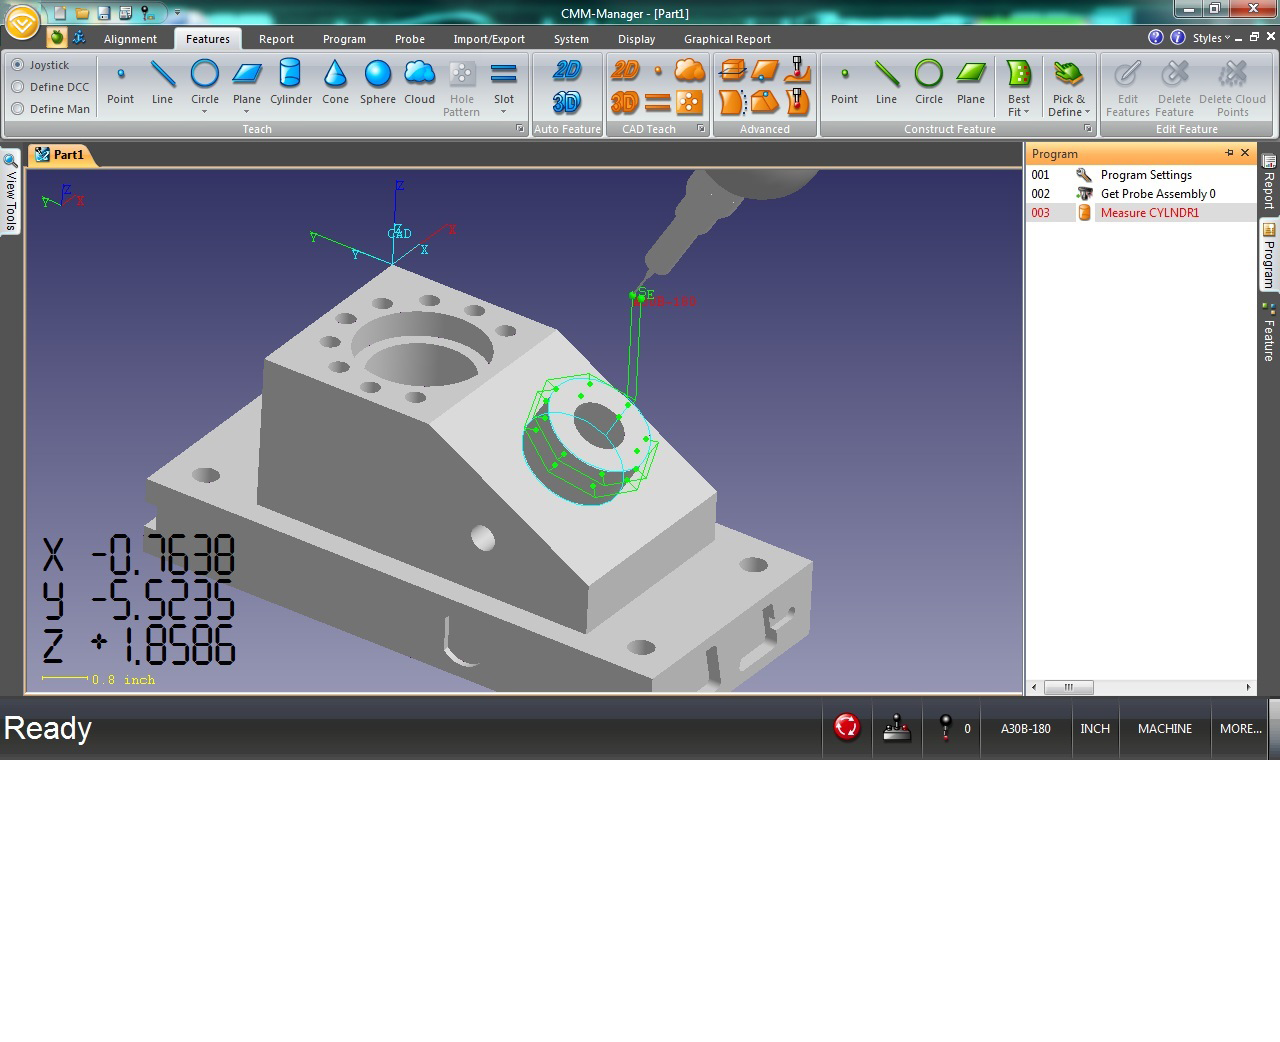
Expand your 3D tactile and video measuring capabilities with CMM-Manager, now available on Nikon iNEXIV hardware.
More Information -

Nikon Automeasure NEXIV Software
Powerful and easy-to-use measuring and inspection software platform for Nikon NEXIV vision systems.
More Information


